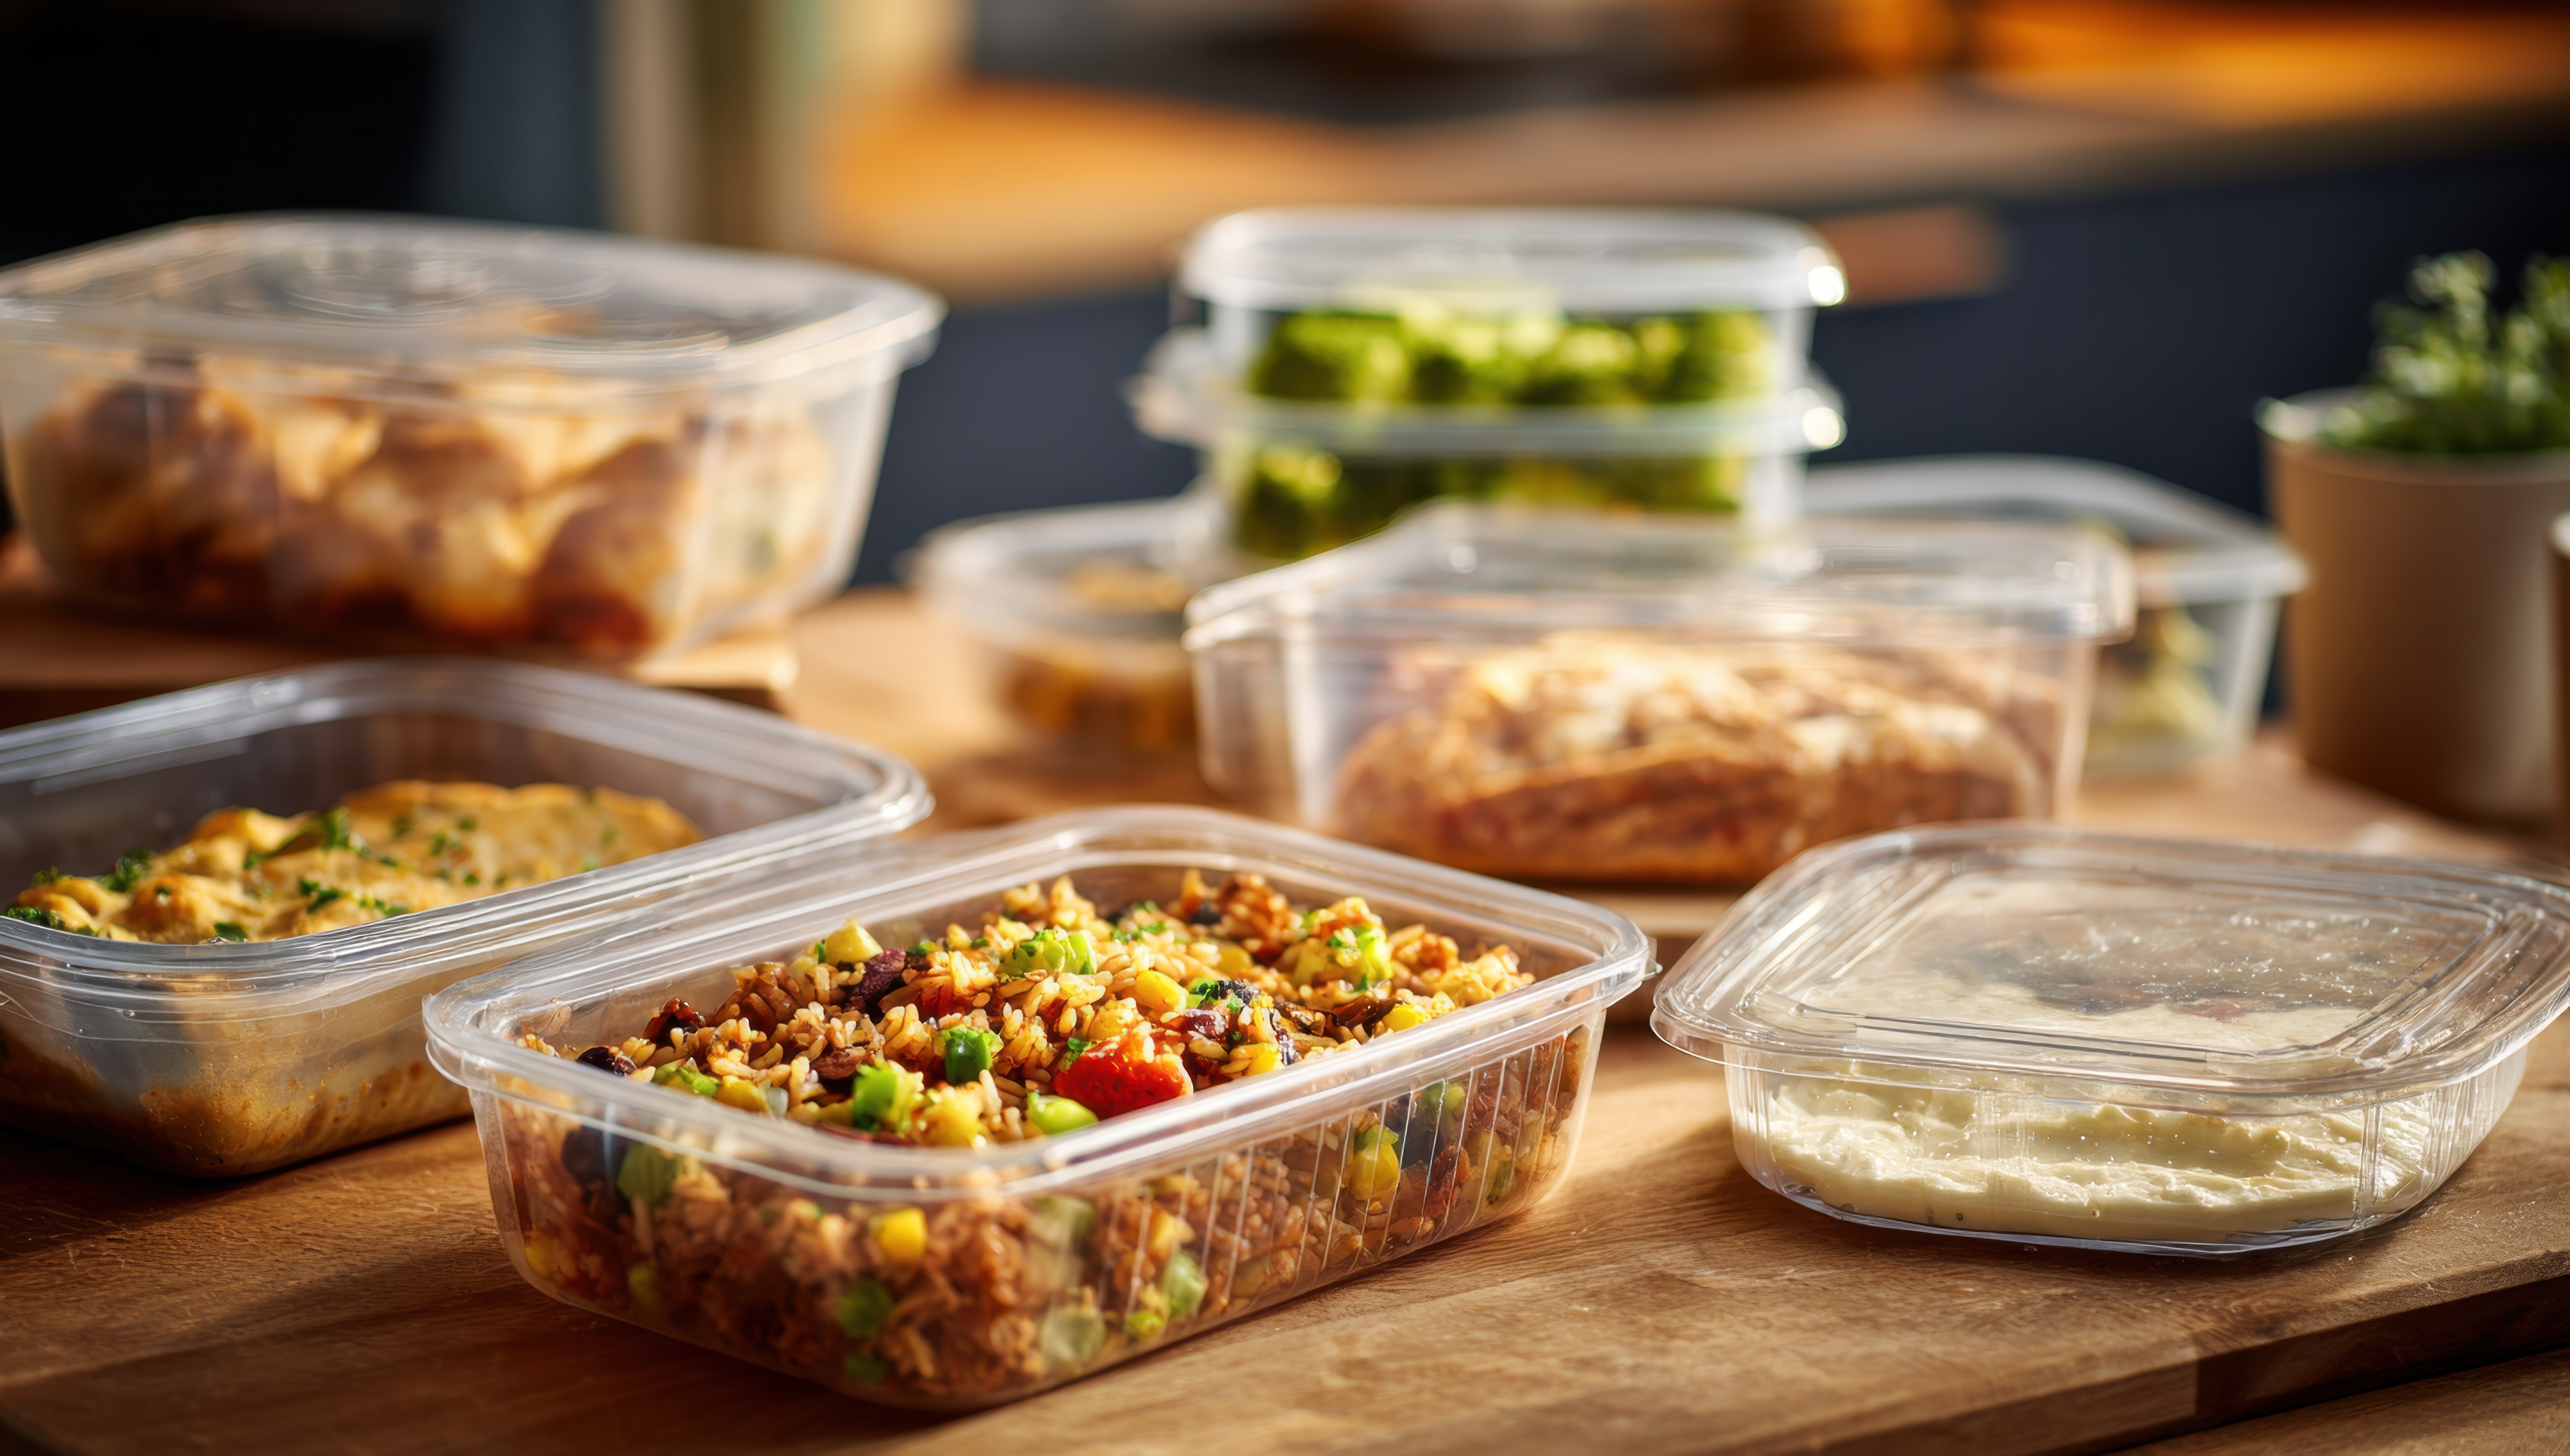
Why settle for plain leftover pasta when it can become a golden, fluffy frittata? This transformation is quick, satisfying, and perfect for breakfast, lunch, or even a light dinner. With minimal effort, your pasta gets a protein boost and a whole new texture—crispy on the outside, soft and cheesy inside.
Recipe 1: Creamy Vegetable Pasta
Prep time: 10 mins| Cook time: 20 mins | Servings: 2
| Ingredients |
|
| Method |
- Finely chop the onions. Halve the cherry tomatoes. Mince the garlic.
- Trim the ends of the asparagus and cut into 2-inch pieces.
- Bring a large pot of water to a boil and add salt. Add the pasta and cook as per package instructions. When the pasta is almost cooked, add the asparagus. Drain the cooked pasta and keep it aside. Save half of the pasta for later use. Cool and keep refrigerated in an airtight container.
- In another pot, add butter and olive oil and add onions when hot. Sauté the onions until they are translucent.
- Stir in the garlic and green peas. Cover and cook until the peas are cooked.
- Stir in the tomatoes, salt and pepper, Italian seasoning and parsley flakes. Cover and cook for a minute or so.
- Add the vegetable broth made from the powder by adding the hot water used for cooking pasta and cream, and bring it to a boil.
- Finally, add the pasta and parmesan. Toss till it is well combined and adjust the seasonings as required.
- Let it sit for a few minutes covered for the pasta to soak the flavour. Serve warm with some more sprinkling of cheese.
|
Recipe 2: Pasta Frittata
Prep time: 10 mins | Cook time: 20 mins | Servings: 2
| Ingredients |
|
| Method |
- Heat the oven to 180°C. Whisk the eggs with the milk and cream mixture, add salt and set aside.
- Warm the olive oil in a pan and add the pasta to reheat, tossing to keep from browning. Add the marinara sauce and toss to coat well.
- Pour the egg mixture into the pan and shake it to settle the egg around the pasta. Continue to cook, placing the tomatoes on top, and sprinkle with cheese. Cook for about 5 minutes.
- Transfer the frittata to the oven and bake until the egg is set and the cheese is melted for 20 minutes.
|
Khichdi, Two Ways
Khichdi → Khichdi Cutlets
Khichdi is comfort food at its best—but leftovers can be elevated into crunchy, flavorful cutlets. Easy to pan-fry and perfect as a snack or quick meal, these cutlets bring a new dimension to a humble dish while retaining all the nutrition you love.
Recipe 1: Khichdi
Prep time: 30 mins | Cook time: 20 mins | Servings: 6
| Ingredients |
|
| Method |
- Wash and soak the rice and moong dal for 30 minutes. Drain and keep aside.
- Chop the vegetables.
- Heat the ghee in a pan over medium flame. Add cumin seeds, cloves, bay leaves, cinnamon and black peppercorns.
- Add the vegetables and saute for 2 minutes.
- Add soaked rice, moong dal, turmeric, red chilli powder and salt. Mix well and saute for 2-3 minutes.
- Add 4 cups of water and bring it to a boil. Cover and cook for 15 minutes in a pressure cooker.
- When the pressure is released, add a tsp of ghee and coriander leaves and serve hot.
|
Recipe 2: Khichdi Cutlets
Prep time: 10 mins | Cook time: 10 mins | Servings: 2
| Ingredients |
|
| Method |
- Grind the chillies and garlic to make a paste. Chop the onions and coriander.
- Take the leftover cold khichdi in a bowl and add all the ingredients to it except the oil.
- Grease your palms with a little oil and make equally sized cutlets from the mixture.
- Heat the oil in a nonstick pan and shallow fry the cutlets to a golden brown on both sides.
- Serve hot along with tomato ketchup or green chutney.
|
Chicken, Two Ways
Tawa Chicken → Tawa Chicken Sandwich
Leftover tawa chicken doesn’t have to sit in the fridge—turn it into a hearty sandwich! With fresh veggies, a soft bread base, and a hint of spread, the spicy, smoky flavours get a second life in an easy, on-the-go meal.
Recipe 1: Tawa Chicken
Prep time: 10 mins | Cook time: 20 mins | Servings: 3
| Ingredients |
|
| Method |
- Cut the chicken thighs into small pieces. Place in a bowl and add garlic paste, ginger paste, salt, red chilli powder and keep aside.
- Chop the onion and tomatoes. Cut the green chillies lengthwise. Julienne the ginger and finely chop the coriander stems.
- Set the tawa on medium heat. Add the cumin seeds, cinnamon stick, coriander seeds, peppercorns, cloves and cardamom seeds. Dry roast for 5 minutes on low heat and add kasuri methi. Roast until fragrant and transfer to a plate to cool.
- Grind the spices in a grinder to coarse powder.
- Heat oil on the tawa over medium heat. Arrange the chicken pieces in a single layer and allow them to sear for about 2 minutes, then flip to sear the other side. Partially cook the chicken and transfer it to a plate, and set it aside.
- In the remaining oil on the tawa, add the bay leaf and fry till fragrant. Add the onions and fry for 5 minutes.
- Add the butter, chopped green chillies, coriander stems and ginger juliennes to the onions. Sauté together for about a minute. Sprinkle coriander, red chilli and turmeric powder and saute for 20-30 seconds with onions.
- Add the tomatoes and salt, and saute for 5 minutes until the tomatoes are soft and mushy.
- Return the chicken to the tawa along with the juices on the plate, and add the spice powder over the chicken and mix well to combine.
- Spread the chicken in a single layer on the tawa. Let it cook for 4-6 minutes to achieve a brownish colour.
- Sprinkle freshly chopped coriander leaves and a spoonful of butter.
- Add a splash of lemon juice and serve.
|
Recipe 2: Tawa Chicken Sandwich
Prep time: 10 mins | Cook time: 10 mins | Servings: 2-3
| Ingredients |
|
| Method |
- In a mixing bowl, combine chopped onion, chopped tawa chicken, crushed pepper and salt.
- Add mint chutney and mayonnaise to the mixture.
- Take 4 slices of bread and apply butter to one side of each slice. Spread the prepared stuffing evenly. Top with remaining bread slices, buttered side down.
- Heat a griller and apply butter to the base to prevent sticking. Place the stuffed sandwiches on the griller and grill until they are golden brown.
- In a bowl, mix mayonnaise and mint chutney to prepare the dip
- Plate the grilled sandwiches along with the salad and dip.
|
Rajma, Two Ways
Rajma Masala → Rajma Tacos
Why stick to bowls when your rajma masala can shine in taco form? Soft tortillas, crisp toppings, and tangy sauces make these tacos a fusion delight, giving a fresh twist to a classic Indian comfort food.
Recipe 1: Rajma Masala
Prep time: 10 mins | Cook time: 40 mins | Servings: 4
| Ingredients |
|
| Method |
- Add rajma to a large bowl and rinse them thrice. Soak them uncovered in 4 cups of water for at least 6 hours or overnight. Discard the water and rinse well.
- Transfer the rajma to a pressure cooker, add in 1-1/2 cups of water and pressure cook until soft for 4 to 5 whistles.
- Heat the ghee in a pot. Add cumin seeds and bay leaf. When they sizzle, add the onions and green chilli. Sauté on medium heat until the onions turn golden. Stir in ginger garlic paste and saute for a minute until aromatic.
- Pour the tomato puree and cook until the onion and tomato mixture thickens for about 3 minutes.
- Stir in the spices, ie, red chilli powder, garam masala, coriander powder, cumin powder and turmeric. Sauté for 2-3 minutes until the masala turns fragrant.
- Add the rajma along with the water in which it was cooked, and add more hot water if required to make a gravy.
- Mix well and simmer for 10-15 mins until slightly thick.
- Add cream and garnish with ginger juliennes and coriander leaves. Squeeze some lemon juice before serving.
|
Recipe 2: Rajma Paneer Tacos
Prep time: 10 mins | Cook time: 1 min | Servings: 12 pieces
| Ingredients |
|
| Method |
- Chop the onions, tomatoes, green chillies, and lettuce and keep aside.
- Mix half onions chopped, half the chopped tomatoes, green chillies chopped, the coriander leaves chopped, sugar, salt and oregano to make the salsa.
- Grind the chilli to a paste and add it to the leftover rajma. Add the tomatoes and onions and stuff the mixture in the tacos along with the fresh salsa. Crush the paneer and add it to the salsa.
- Heat the taco shells in the microwave for a minute and stuff the taco shells with the rajma mixture and the salsa.
- Serve immediately.
|
Vada, Two Ways
Urad Dal Vada → Dahi Vada
Crispy urad dal vadas don’t have to just be snacks—they can be transformed into creamy, cooling dahi vadas. This effortless twist balances crunch and yoghurt’s soothing texture, turning your leftovers into a dish that feels celebratory and indulgent.
Recipe 1: Urad Dal Vada with Chutney
Prep time: 4 hrs | Cook time: 25 mins | Servings: 15 pieces
| Ingredients |
|
| Method |
- Wash the dal several times and soak it in 4 cups of water for at least 4 to 5 hours.
- Drain the dal completely and transfer the dal to a grinder jar. Sprinkle 3 tablespoons of water, add salt and grind.
- Scrape off the sides and grind again to make a coarse, thick batter.
- Add crushed pepper, cumin, ginger, green chillies and curry leaves.
- Transfer the mixture to a big bowl and aerate the batter by beating it with your hand in a clockwise direction for 30-60 seconds.
- Drop a small amount of batter into a bowl of water. If it floats, then it is well aerated.
- Heat oil in a deep, bottomed pan on medium heat.
- Take small portions of the batter and shape them into a ball, and slide the vada into the hot oil.
- Fry the vada until they turn golden brown on both sides.
- Serve the vada with coconut chutney.
|
Recipe 2: Dahi Vada
Prep time: 15 minutes | Cook time: 0 mins | Servings: 2
| Ingredients |
|
| Method |
- Whisk the curd with sugar, salt and green chilli paste and ginger paste.
- Dip the urad vadas in hot water and let them stay for 10 minutes.
- Drain the vadas and squeeze to remove the water.
- Add the vadas to a serving plate and add the prepared curd mixture to it.
- Garnish with coriander leaves, red chilli powder, cumin powder, tamarind chutney and mint chutney.
|
Leftovers don’t have to be boring! Turn yesterday’s meals into today’s delights—pasta into frittata, khichdi into cutlets, tawa chicken into a sandwich, or rajma and vadas into tacos and dahi vadas. Quick, creative, and delicious—leftovers never tasted this good!
If you like this post, a share would be epic!
Like this:
Like Loading...
0 comments on “Healthy Leftovers: How to Cook Once, Eat Twice!”